Showing posts with label ottoman slipcover. Show all posts

Monday, April 1, 2013

grey ottoman

That little dropcloth ottoman slipcover I made last week inspired me to cover another old WalMart ottoman I had sitting in the garage.

This was even easier because I only did one pleat on each side.

Cute, huh?

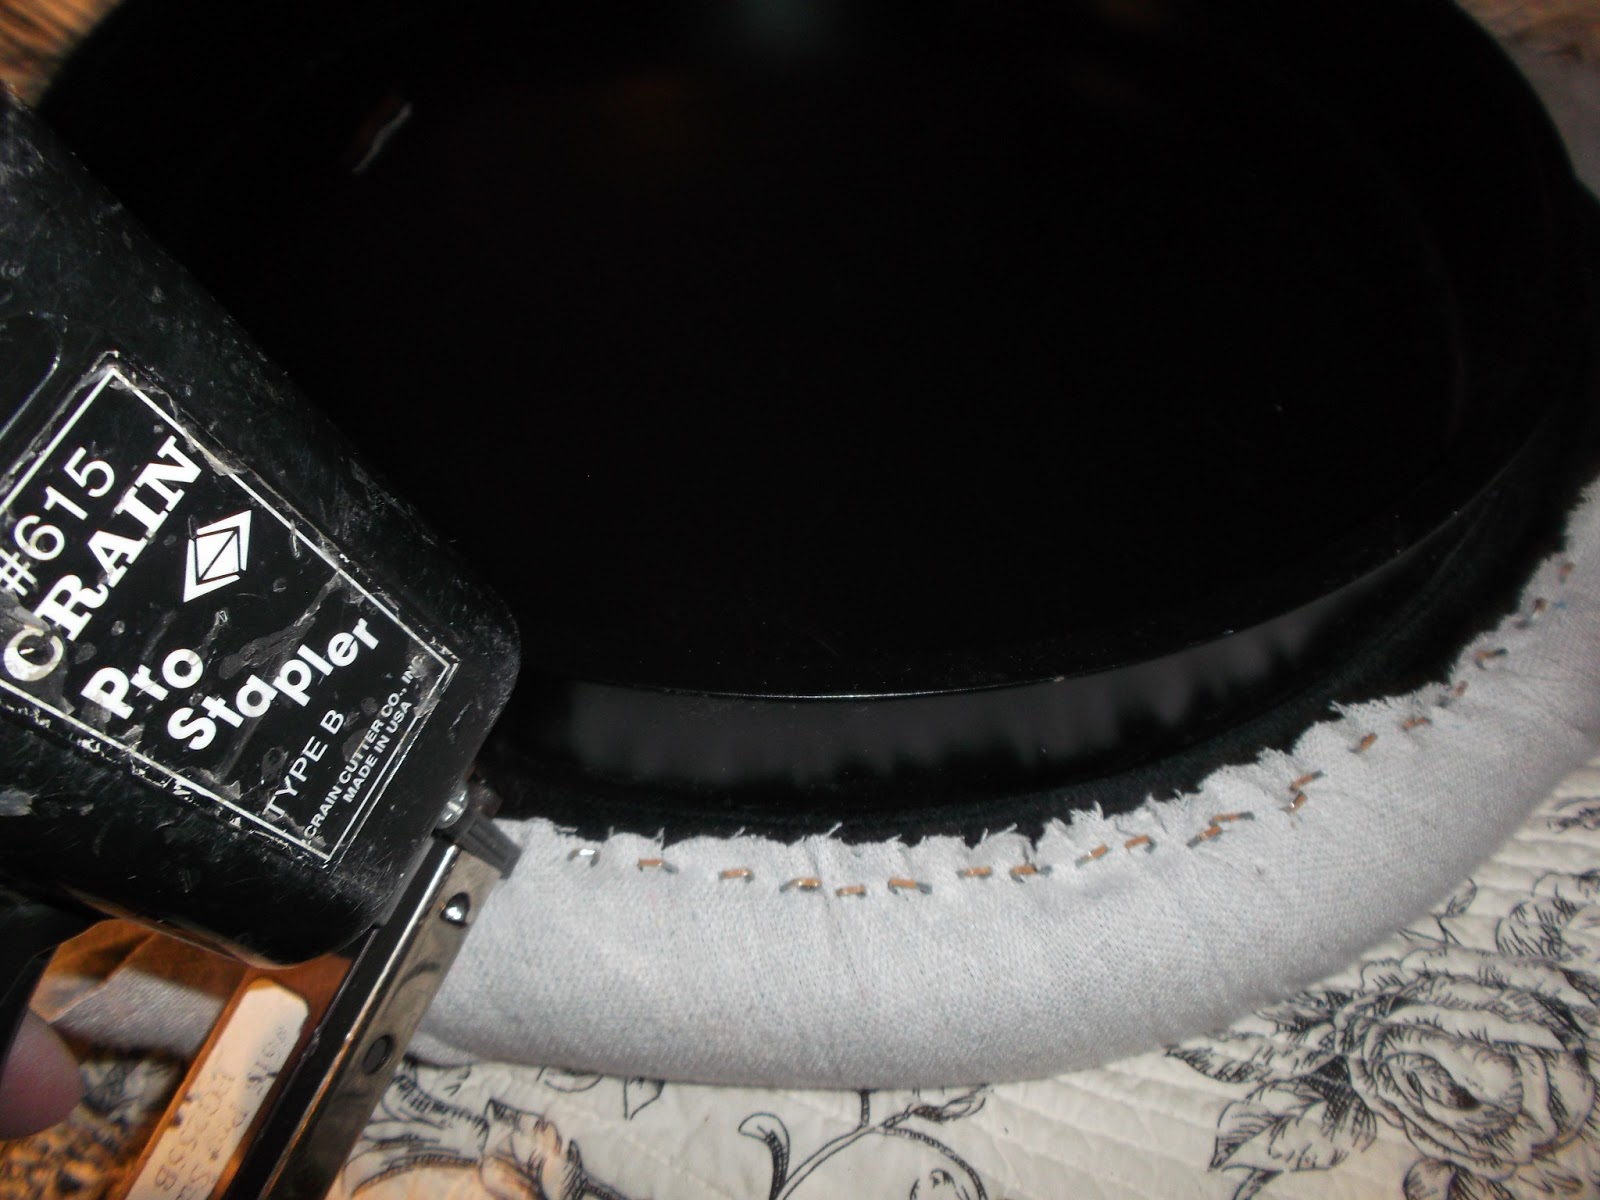
Staple the fabric to the inside top of the ottoman, making sure to match up the hemmed bottom of the fabric with the bottom of the ottoman.

When you get to the middle of the side, pinch the fabric about 2 inches and fold towards the middle, then staple in place.

Pinch the fabric right next to it and fold it to meet the first fold.

Staple into place.

Continue around the ottoman, making the pleat on each side.

This is what it will look like, a little messy, like it needs a good ironing to make the pleat look like a pleat, right?

So that's what I did, just ironed right on the ottoman.

Place the top on the fabric, cut around with enough fabric to pull up and staple. Start with one side, then go to the opposite side rather than just stapling all around. This will keep the fabric straight. Save the corners for last.

Cut off some of the fabric at the corners before you staple so it's not so bulky.

Then just fold and staple.

Ta da! About a 15 minute project!

Wednesday, March 13, 2013

Furniture Project: Pleated Ottoman

I decided I needed an ottoman to match my new dropcloth-covered wing chair.

I had this one sitting around in the garage; it would work just fine.

This is a no-sew project, really easy!


 First, I measured the ottoman, height and circumference, adding a little extra for  hems and overlap.
I wanted to make pleats, so I just about doubled the circumference. It was 58" around, I cut it 100" then cut off about 7" when it was done, so you can do the math.

Hem one long side. (You can glue it instead of sewing if you prefer)
 I cut along a side that was already hemmed on the dropcloth, so I could skip this part.

To make the pleats, I measured in about 7 inches (this was random, it just looked right) and pinched up about 1 1/2-2 inches,

fold it down, press and pin.

Pinch another 1 1/2-2 inches right next to it,

fold it down to meet the first fold, press and pin.

Repeat to the end, 

keeping the preceding pleats straight as you go along
.

Lining the bottom hem up with the bottom of the ottoman, pin the top of the slipcover to the top of the ottoman.

 When you get to the end, you might get lucky and it ends perfectly, or you have to decide how and where to cut it off. Just try to make it look natural. I cut this last section about in half.  You can glue or slipstitch this part together.

Using a staple gun, staple to the inside top of the ottoman.

For the top, lay the top of the ottoman on the fabric, cut around leaving enough fabric to pull tight and staple.


Here's the finished ottoman before adding the painted stripe to match the chair. I didn't do it first because I wasn't sure exactly where I wanted the stripe. I thought I would figure that out once it was done. It took me a week to make that decision.

 I decided to just match the stripe on the chair, painting freehand and keeping it imperfect

 and a stripe along the bottom edge.

Looks great with the chair!