Friday, May 25, 2018

Before and After: Living Spaces


There are two living spaces in this house,
one at the front which I call the living room,
and one at the back which I call the family room.

 Living room at move-in,
ugly carpet, popcorn ceilings and all.

 Family room at move-in, ditto.

 more family room,

 and another angle of family room.

 This is the first manifestation of the living room.
The walls were painted a coffee color and we installed
some molding on the bottom of the walls as wainscoting.
The furniture was just moved in from our old house, as-is.

 This is the first look of the family room.
The walls were painted blue and the furniture,
again, came straight from the old house.

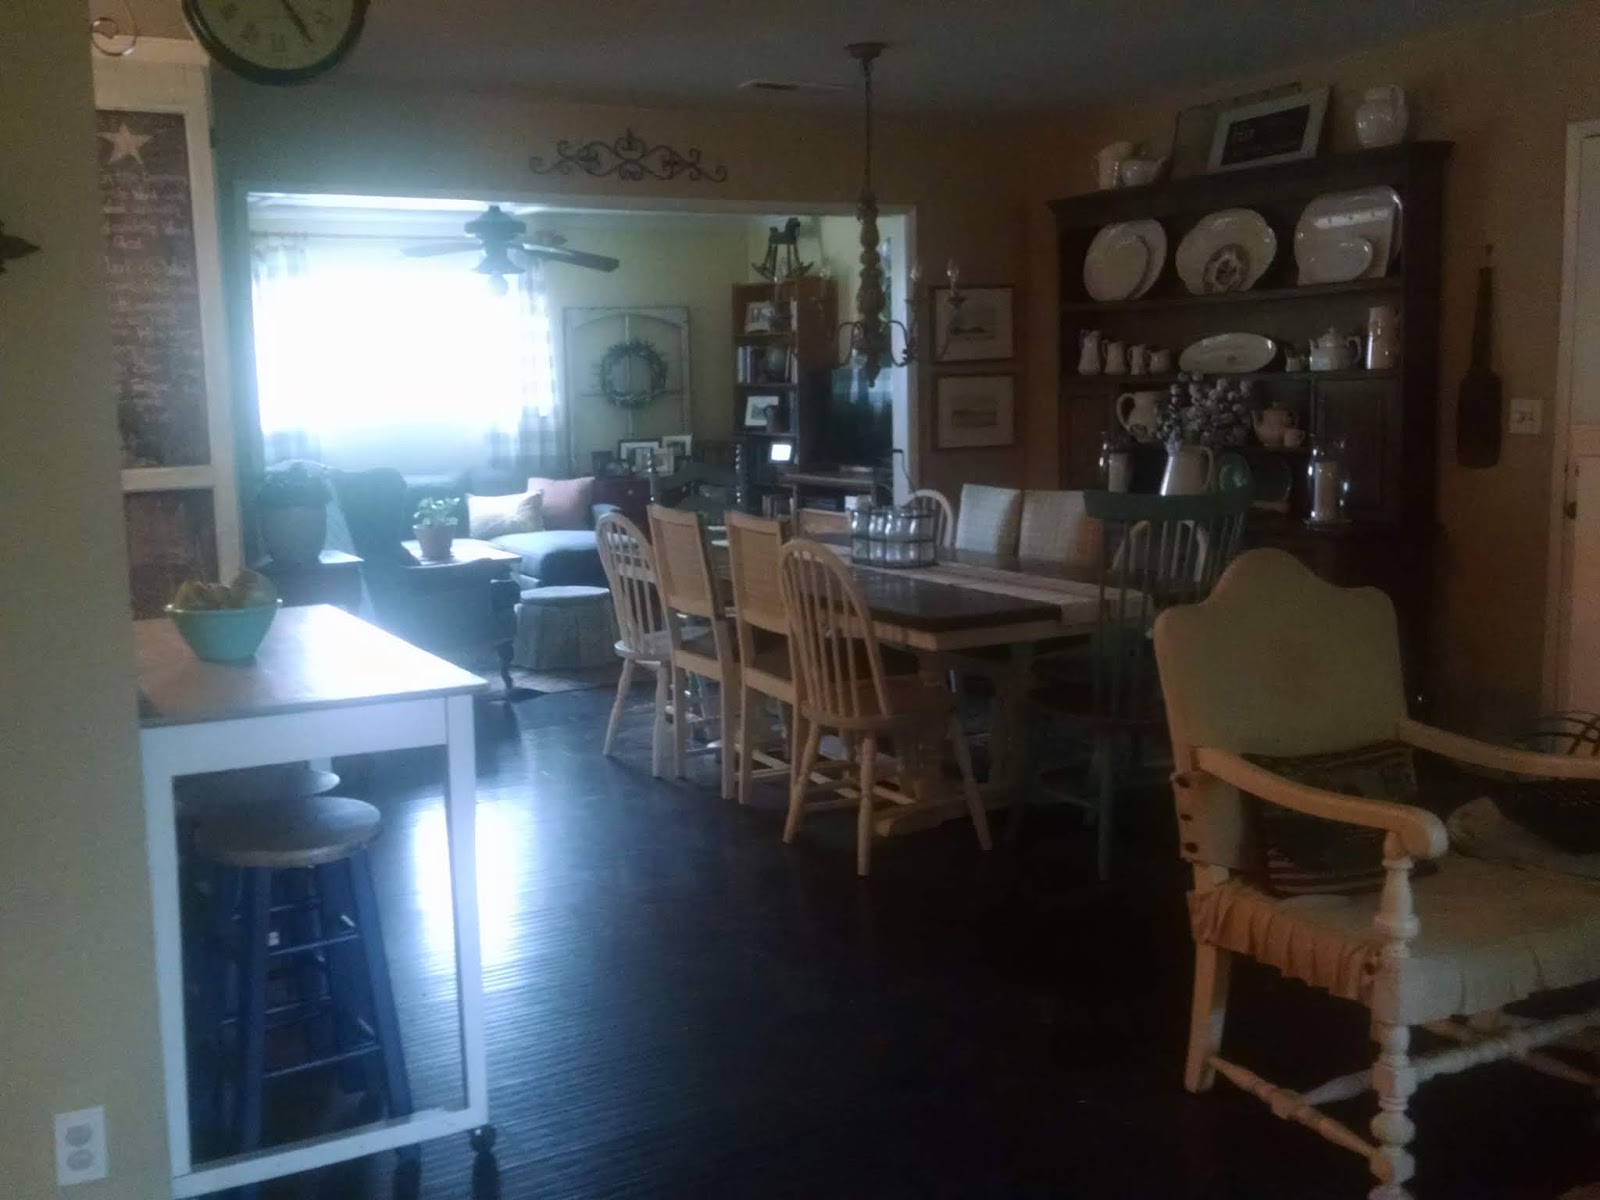
 A look from the living room into the family room.
You can see it is very open, but the family room was
an add-on and has a separate feeling to it.

I decided I wanted an all-white room,
so I covered the leather sofa with linen
and painted all the furniture white.

This worked well for awhile until I thought it would be a better fit
to move the all-white room to the front and the older (and more colorful)
furniture to the room that held the television and got more family use.

 A good idea until I realized it meant not just moving furniture,
but rugs, artwork, chochtkies and large shelves as well!

 It took quite a while to get everything moved,

 and I lived with combination rooms for a week or so.

But, eventually everything found their proper place.

 Mostly white and neutral, with a touch of pale blue,
very light and airy.

 The family room got a fresh coat of yellow paint

and a lot of color!


Both rooms continued to evolve,

with various furniture coming and going,

sometimes from room to room and back again,

changing from one season

to the next.

Sometimes bringing in new rugs and drapes,

slipcovering and painting the old,

and trying out different art and pillows.

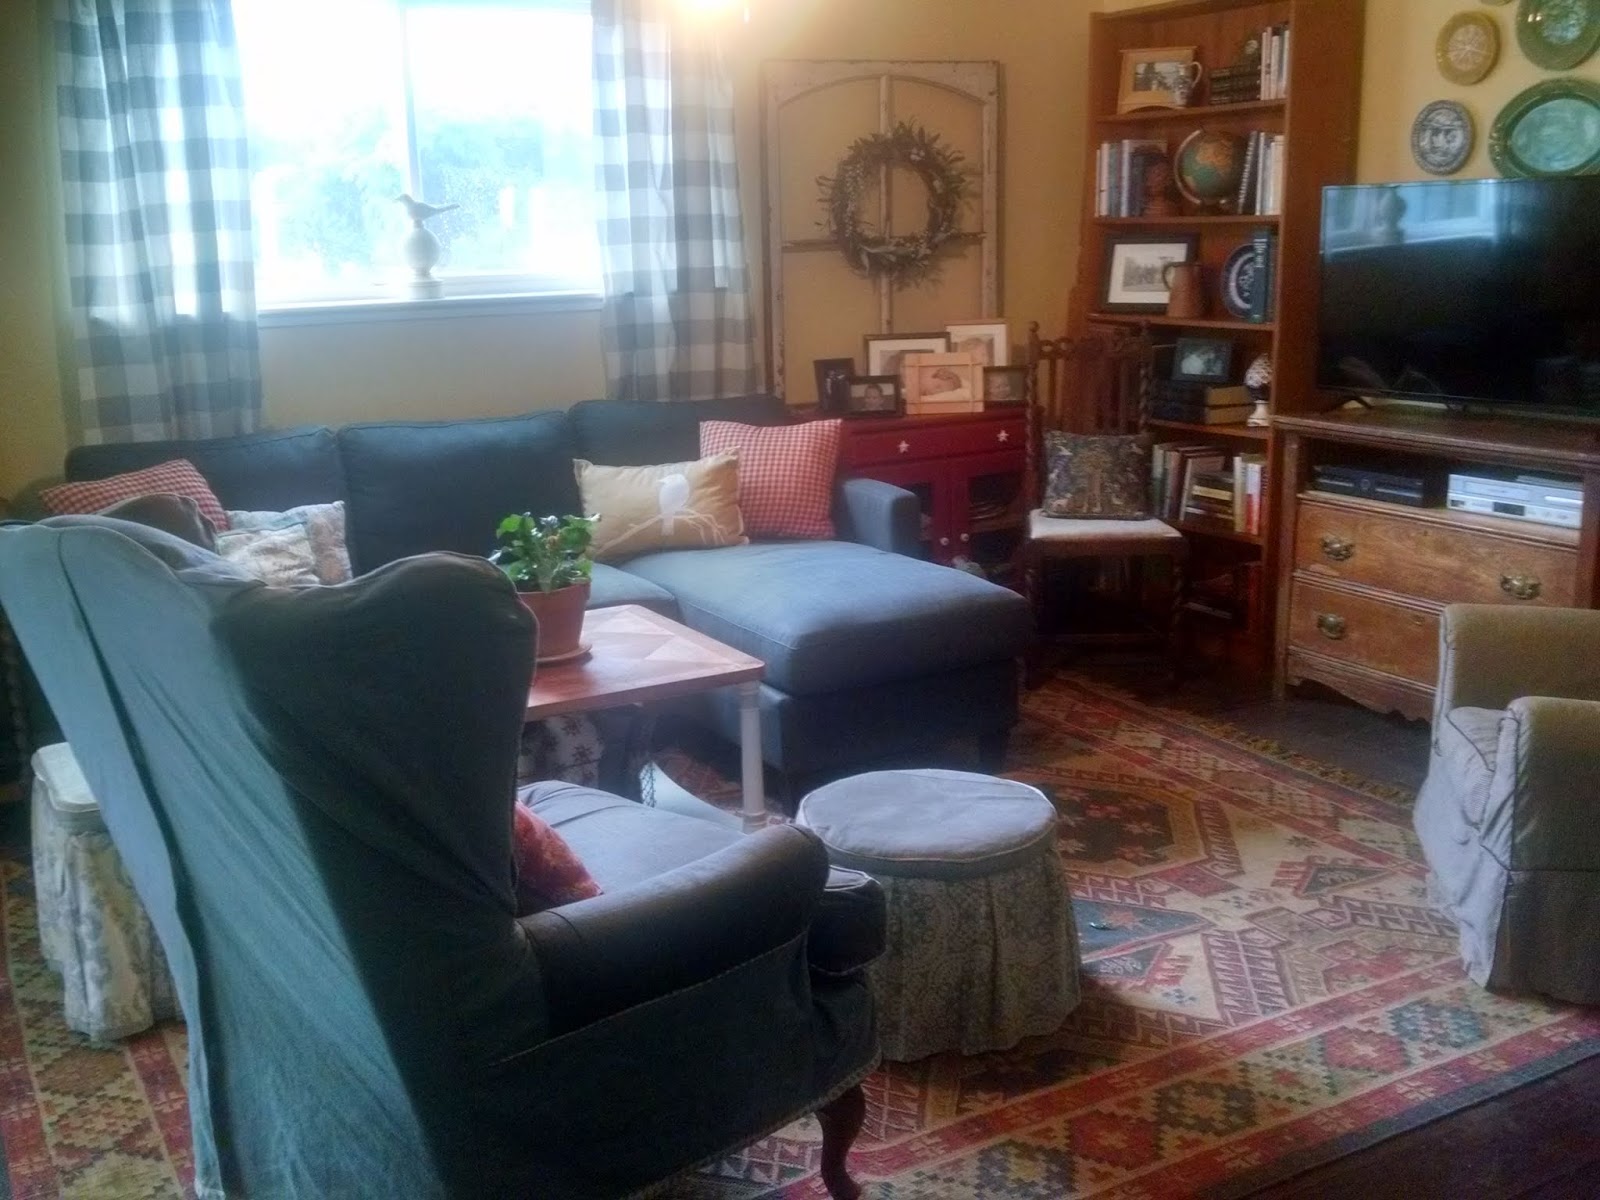
Until we come to the present day,

combining the new 

with some of the old.

Using the same flooring throughout the house
gives it a good flow,

 and also makes it feel larger.

But I never know how long anything
in this house will last.
In fact, see that chair in the corner?
It's in the middle of a makeover as we speak!


Saturday, March 3, 2018

Back to Basics- Why I Started This Blog in the First Place: Before and After Curb Appeal


The last couple of years have been a little hectic (okay, crazy) around here.
You probably noticed that my posts have dwindled to practically nothing
(sorry about that).

But now I am going to get Back to Basics and return to the original
purpose for this blog: documenting the remodel of this House with Potential,
turning it from a Rundown Ranch into a Cute and Cozy Cottage.

So, let's start at the beginning: Curb Appeal


 This house had none.   Zero.
But it did have a nice neighborhood,
a workable floorplan, a big yard and a low price.

 It's not any better from far away.

 I hated those arches from Day 1.
I just thought, "We'll take those downright away".

Trouble was, we had never worked on a stucco house before
and had no idea just how hard it would be.

We tried various tools and methods, but in the end, it was
sheer brute strength with a sledge hammer that took them down.
It actually took a couple years to complete this project and I
started to feel sorry for the neighbors!


But it was worth all the hard work!

We built up the columns and painted
all the trim a beautiful bright white,


to compliment the newly painted grey of the house,

and the pop of turquoise on the front door.


Add some cottage charm with a turquoise milk can, weather vanes
and crocks, even a turquoise beach cruiser,

a white fence and lots of cottage flowers,
like lavender, roses and geraniums.

From far away,

or close up,

This house now screams Cozy Cottage!


Tuesday, February 27, 2018

Making Peace With an Ugly Structure

When we bought this House with Potential,
there was an ugly metal shed in the backyard.
Not in a corner or out of the way place,
but right in the middle of my view out the
kitchen window.

Just look past the cute kids to that metal shed with the brown trim.
Not what I wanted to see every morning!
My first thought was to move it, far to the end of the property
where I wouldn't have to look at it.
But, then I would have to schlep all the way out there
to get the Christmas decorations or the camping gear,
or whatever else I might need.

So, I took Husband's advice and began a camouflage strategy.

First up, I mixed some outdoor paint to a pretty green color and
painted over the brown metal trim. Instant improvement!
I wasn't sure it would last, painting regular paint on metal,
but it's been 2 years and doing just fine.

Next, we built a white picket fence and began
planting lots of flowers.

I moved the potting bench we built to the middle
of the shed and added pots and ladders and other
things to distract the eye.

It was beginning to work!

I painted some leftover pickets and added them
to the front of the shed with a flag I
painted on a piece of plywood.


Of course, when you're outside, the giant pergola
and fire pit help distract from the shed, too!

This is now what I see from the kitchen window!
And the flowers have really grown this year, filling out
over the fence, so it's even better!