Monday, October 29, 2012

Painted Kitchen Countertops: Take 3

OK. It's been about 5 months since I first painted my kitchen counter tops with Rustoleum Countertop Paint.

Now that I have lived with it for 5 months, I think it's a hit.


It hasn't chipped or peeled.

It has held up to spilled coffee, jam or anything else Husband and Grandkids could dish out.

I can scrub it all I want and it still looks good.

I decided to use beadboard for the backsplash and I like that much better. It's funny how a small thing like white paint can brighten up a space, even when it covers a relatively light color like yellow.

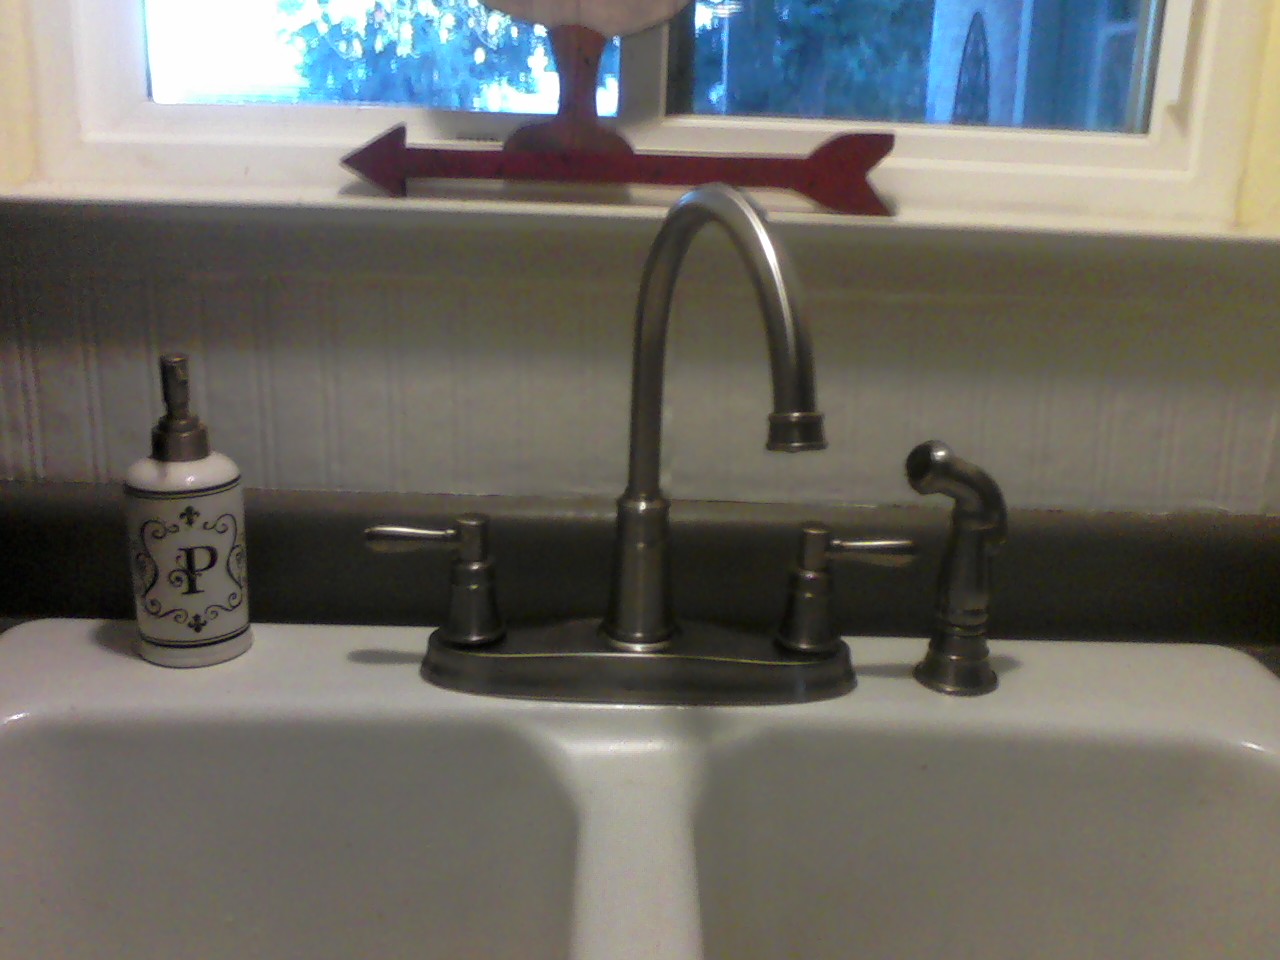
At the same time, we also replaced the kitchen faucet and an old recessed light.

The old faucet, besides being incredibly ugly, broke just one too many times, so we finally replaced it


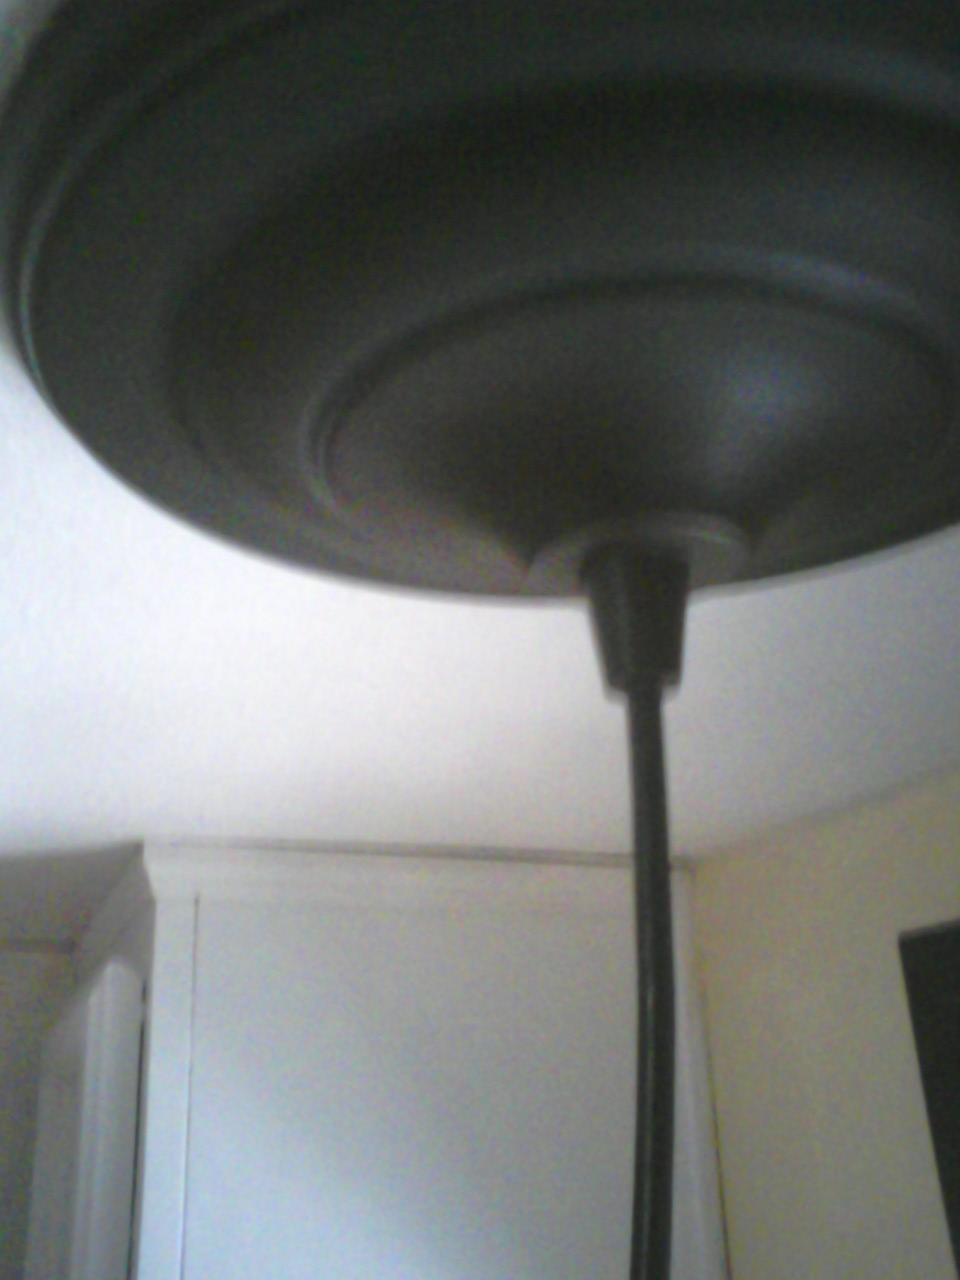
You can read here how easy it was to change a recessed light into a pendant.

With all these little changes, the kitchen is close to being finished, at least as far as the short-range plan goes for this House with Potential!

Saturday, October 27, 2012

A Change in Life Brings About a Change in Decorating

A little over a month ago, I wrote a post about Plan B

My eldest son and his family moved to Sacramento, about 2 hours away, due to a wonderful job opportunity. It just about broke my heart to wave goodby to my precious grandbabies, but, at the same time, I was also very happy for them. 

After the move, I looked around the house and realized it was well situated for all my family living in the same town, with lots of space for the grandkids, but not so much for adults to spend the night when they came to visit.

So I set about to rectify the situation.
 I have been rearranging the bedrooms, making sure I can sleep all five of them.

First, I moved Camille's daybed from my craft room into Emmett's room.
 I had to move out a small desk, but I am planning to make space in my garage
workroom for a craft area for the kids, so it went there.

I took all the pink little girl pictures and toys and moved them as well. The green walls work well with the pink, so no repainting necessary!

The pink Jacob's Ladder quilt I made 20 years ago for my daughter when she loved pink (she was 4).

The Sunbonnet Sue quilt at the foot of the bed was made by my grandmother over 40 years ago.

Pillows from the daybed work well here, as do the bunnies and other girlie items, such as:

Beatrix Potter poster

 fairie pictures

straw hat, old baby dress and bunny hook.

On the other, "boy side" of the room,
 I removed the sail canopy above the bed and
pushed the front of the bed up against the wall to match the "girl side".
 The log bed is the top of a bunkbed that my boys slept in many years ago.

 The quilt is a Bear's Paw I made for my oldest son when he was 10.

Other items on the "boy" side of the room include:

A sailboat quilt and oar

a star and sailboat picture that was in my son's nursery

a boat shelf and dress-up toys.

Meanwhile, back in the craft room, I had to make room for two adults
while still keeping my space.

I think I'll save that for another day!


Wednesday, October 24, 2012

Turning a Recessed Light into a Pendant Light


There were some ugly light fixtures in this house when we bought it, including this '70-something recessed light over the sink in the kitchen.


It burned out a while ago and instead of replacing it, I began looking around to see if I could easily replace it with something more to my liking.

I found that there are some products out there to turn a recessed light into a pendant light as easily as changing a light bulb. Literally!

Just like everything, there are lots of price points and styles. I chose one from 
Lowes on line for $13.99.

It came all put together and the steps were simple.

First, I unscrewed the recessed light bulb and took off the ugly gold cap.

Second, I held the new one up to determine how long the cord should be, then wrapped the excess around the spindle bracket.

This is probably the trickiest part because you want to get the last wrap centered 
so the cord will hang straight.

Third, screw the adapter into the socket. 
As you can see, it looks just like the part of a light bulb that screws into the socket.

There is a little knob-thing at the top of the cord, just below the canopy that hides the hole in the ceiling; this is called a compression nut.
The fourth step is to loosen this so you can slide the canopy up against the ceiling.
No tools required, just turn it with your fingers.

Once that's done, tighten the nut to hold it in place.

The final step is to add the glass shade and light bulb.
Because the shade is heavy, I found it easier to hold the socket sideways.


Voila! As easy as changing a light bulb!


Monday, October 8, 2012

DIY: Turning a Door into Something Beautiful and Functional

Everyone loves old doors and windows these days. But sometimes you come across a door that's not old, but it has good lines and it's solid. 

This one has been sitting in my garage over a year, bought from a neighbor's yard sale,
 but it finally has a purpose.

Not sure what to call it, but it has chalkboards and a shelf, so it would make
 a good message center or entry piece. 

I found an old door knocker that adds character and the saying is an
 Emily Dickenson quote, "Dwell in Possibilities", that I really like.

The color is a very pale aqua, though it is hard to tell in the photographs.

I'm really pleased with the outcome and am now looking for it's new home: 
kitchen, family room or entry?

Saturday, October 6, 2012

Furniture Project: Secretary Desk

I LOVE this newest piece of yardsale furniture!


This is what it looked like when I found it a few weeks ago:


Technically, it was a bar, but what I really loved about it was the fold-down front.
It would be perfect for a desk!

And the details would really stand out with paint!

I decided to paint it grey and white. Now, I don't use chalk paint because it is just too expensive. So, to get the look, I use flat paint as the base color. (over primer, of course). It has that mat look to it and reminds me of chalk paint at a fraction of the price.

But to make it really look like those furniture pieces you see all over Pinterest, I add white/cream in a satin finish to the little nooks and crannies.

Look at the difference below:

The door on the left has the white paint added to it. It gives the piece so much more depth and interest and the satin finish gives just enough gloss to contrast with the flat paint and make it look even more "chalky".

 I painted chalkboard paint on the desktop and added corkboard (painted aqua to brighten it up) to the back to make it even more functional.

The final step was wax. I use Miniwax, mostly because it's cheaper than others.  The wax protects the paint and, again, gives it more depth and interest.

Ready for Oregon Street Antique Mall.


Furniture Feature Fridays

Thursday, October 4, 2012

Seasonal Decorating: Moving on to the Dining Room

This year I am using a lot of burlap, linen and wool. I like the combination.

For the dining table, I layered a burlap runner with linen ruffles and a cream linen table runner on top.

Then I began to play with different pumpkins, gourds and squash.

 A garland with acorns, fall leaves and pheasant feathers weaves in and around the squashes.

 I added my tall, pear candlesticks that I got on a trip to Gettysburg.

I also added some little elements like a church birdhouse 
and small white rooster doorstop.

In the center I started with a white, square cake stand, added a wreath of dried fall leaves and a  pumpkin-spice candle. I am thinking about replacing this with a pumpkin filled with mums.

On the Welsh dresser in the background, I changed the candles and added squash and gourds to a white bowl, plus some faux pears and acorns. I may add a banner.

On the shelf above stand 2 small pewter Pilgrims and seeds from Plymouth Plantation.

I still have some more areas to decorate, entry and small tables.
Autumn is definitely  my favorite season.http://livingacottagelife.blogspot.com/2012/10/decorating-is-in-details-fall-mantle.html