Wednesday, March 27, 2013

Shabby French End Table

Didn't this little table turn out cute?

This was how I found it at a yard sale.

It was in really bad shape.

But it didn't take much to give it new life.

Antique white paint, a little distressing.

Some French blue paint in key places and fleur-de-lis in the corners.

A very French-cottage look.

On display at Oregon Street Antique Mall.

Monday, March 25, 2013

Repurposed: Making a Hanging Light From a Birdcage

I have wanted to try my hand at making a light for some time now.


This is what I started with: an old birdcage missing its bottom and a light kit from the hardware store.

It was really easy!
 You just pop the inside of the socket up to expose the screws on each side,

wrap the exposed wires of the cord around the screws, one wire around each screw,

push it back into place and cover with the top piece.

That was all there was to it!


I used an Edison bulb since it was so exposed, it has more character.

I think it turned out cute and I will definitely do this again.
I have a lot of old things to turn into lights!

Wednesday, March 20, 2013

Spring!

Random Spring!

Warren Kimble bunny pillow

Banner

Front door

Birdhouses and pansies

Tulips


Spring banner


Flowers and eggs

Felt flower banner

Daffodils

 Lavender and birds

Rabbits

 More flowers and eggs

Eggs in a basket

Lamb plate

Don't you just love spring and all the new life springing up everywhere?

Monday, March 18, 2013

Repurposed: Headboard to Chalkboard


This is a giant chalkboard. It measures about 32" by 44"!

It started life as a twin headboard. I thought it was a really cute shape and considered using it for its intended purpose. With some pretty fabric in the middle, it would have been adorable in a little girl's room. But the legs were a little warped and not very sturdy, so I had Husband cut them off and cut some plywood to fill the inside space.

This was the original finish.

White paint and light aqua in the crevices.

A little distressing and waxing.

One really big chalkboard!

Wednesday, March 13, 2013

Furniture Project: Pleated Ottoman

I decided I needed an ottoman to match my new dropcloth-covered wing chair.

I had this one sitting around in the garage; it would work just fine.

This is a no-sew project, really easy!


 First, I measured the ottoman, height and circumference, adding a little extra for  hems and overlap.
I wanted to make pleats, so I just about doubled the circumference. It was 58" around, I cut it 100" then cut off about 7" when it was done, so you can do the math.

Hem one long side. (You can glue it instead of sewing if you prefer)
 I cut along a side that was already hemmed on the dropcloth, so I could skip this part.

To make the pleats, I measured in about 7 inches (this was random, it just looked right) and pinched up about 1 1/2-2 inches,

fold it down, press and pin.

Pinch another 1 1/2-2 inches right next to it,

fold it down to meet the first fold, press and pin.

Repeat to the end, 

keeping the preceding pleats straight as you go along
.

Lining the bottom hem up with the bottom of the ottoman, pin the top of the slipcover to the top of the ottoman.

 When you get to the end, you might get lucky and it ends perfectly, or you have to decide how and where to cut it off. Just try to make it look natural. I cut this last section about in half.  You can glue or slipstitch this part together.

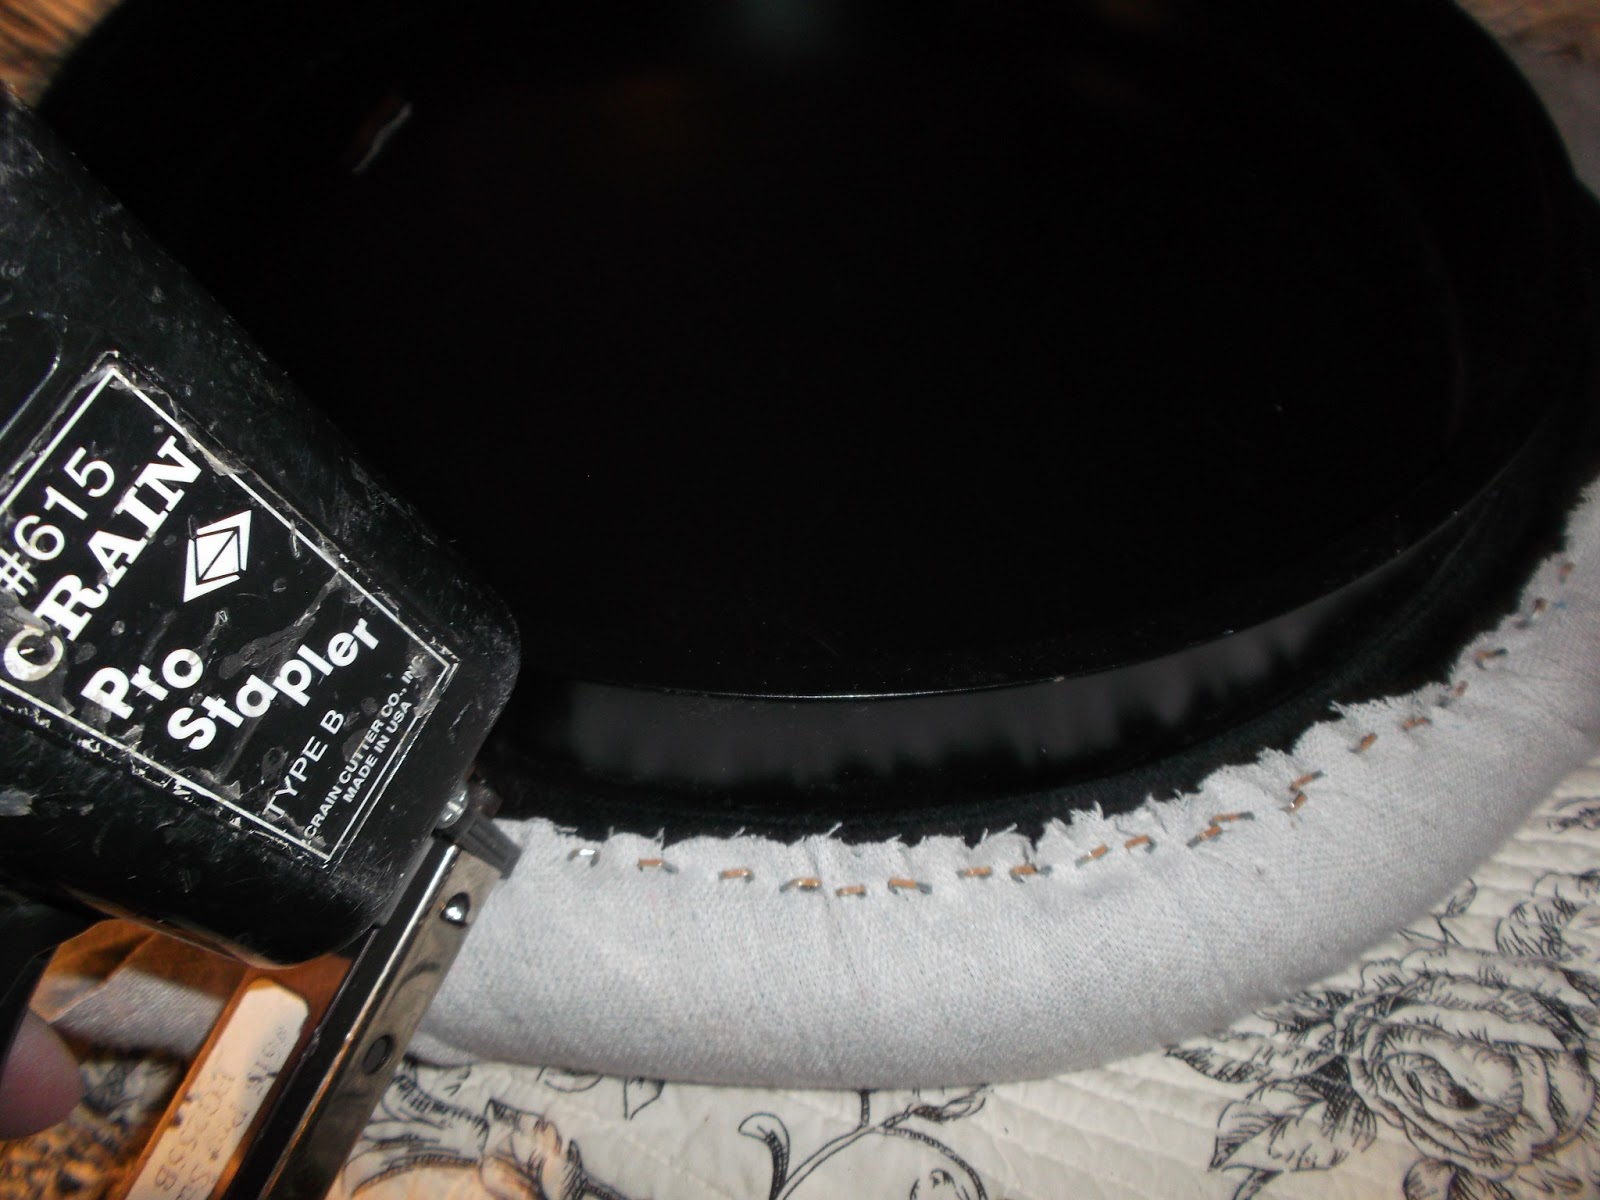
Using a staple gun, staple to the inside top of the ottoman.

For the top, lay the top of the ottoman on the fabric, cut around leaving enough fabric to pull tight and staple.


Here's the finished ottoman before adding the painted stripe to match the chair. I didn't do it first because I wasn't sure exactly where I wanted the stripe. I thought I would figure that out once it was done. It took me a week to make that decision.

 I decided to just match the stripe on the chair, painting freehand and keeping it imperfect

 and a stripe along the bottom edge.

Looks great with the chair!