Showing posts with label paint. Show all posts

Monday, December 16, 2013

Two Quick Holiday Projects/Gifts

I had to come up with a couple of quick gifts for a holiday gift exchange. With not much time, either to shop for materials or work on the projects, here is what I came up with:

 I found both ideas on Pinterest, there are lots of similar ideas out there.

 This one just needed some stickers and paint.

 I used what I had.

 This one just needed scrap wood and paint.

 Which I have in abundance!

 Love its rustic charm.

Both projects took under an hour, not counting paint-drying time.

And best of all, they came from repurposed items:

 an old rocking chair seat

and cabinet door.


Saturday, August 24, 2013

There's Always Time For a Small Project!

My life has been a whirlwind this summer!
Between birthdays, babies, weddings, and many other things, 
I haven't had as much time as I would like to work on projects around the house!

Well, the other day I found myself with a little free time. 
I didn't have the energy or time to do anything big, but I really felt the need to do something creative!

So this is what I came up with.
 
I picked out one of the boards I have in a big pile outside;
 
grabbed some letters to trace;
painted, sanded and dry-brushed some white over the top.

Voila! It looks great over the kitchen window.

I have needed something here since I changed the color of the kitchen
 and moved the red sign that once lived here.
 (Now I just need to get a curtain up!)

This project took under an hour, so it just goes to show you,
 there's always time for something creative!


Wednesday, February 20, 2013

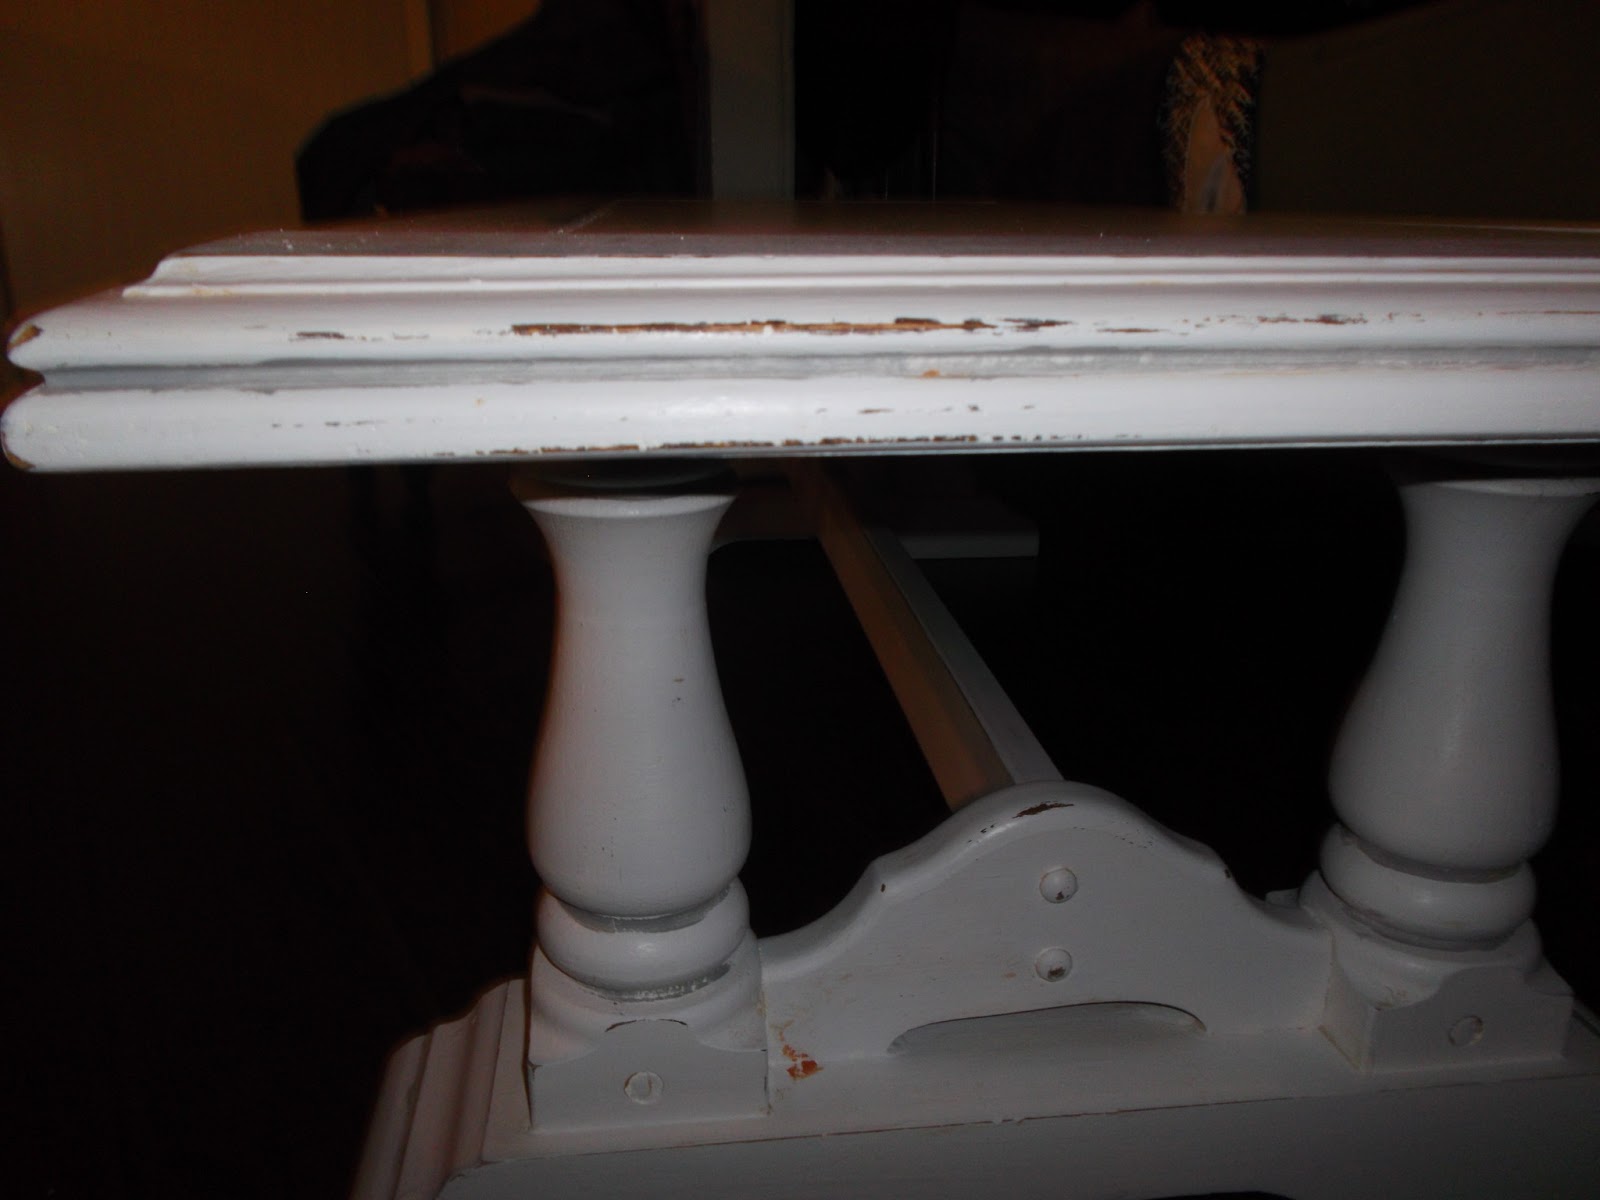
Furniture Project: Enormous Coffee Table

Many of my friends call me when they have furniture they want to get rid of. They know I rarely turn anything down!
This coffee table was one of those calls.

 It's huge! And heavy! It was an ordeal just getting it into the house!

 But it had some nice features.

I especially liked the legs.

So I started with a couple coats of white paint (my favorite!).

Then I sanded the edges and painted the insets with a soft grey.

Continued with the sanding and grey paint in strategic places.

Finished it off with three coats of wax.

Looks good enough to head up to Oregon Street Antique Mall!


Monday, February 18, 2013

Small Kitchen Re-do

When I finally decided on the color for the kitchen island, it created a dilemma: it didn't go with the rest of the kitchen!

So I repainted the backs of the open cabinets.

Before

After

Before

After

Before

After

This also allowed me to put out some favorite dishes that just would not go with the black and white toile, like the Blue Onion dishes that belonged to my grandmother.

Before
 
 After
 
Before
 
 After
 
I'm not finished yet! Looking at this last picture gives me an idea for the refrigerator, so stay tuned for another small kitchen re-do!

Monday, January 14, 2013

Art Project: Making a Sign From a Cabinet Door


This is a super easy project.
I used an old cabinet door, but you can use any piece of wood, canvass, or even heavy cardboard.


The first step is to paint your background. You have to think ahead a little, because the first color is going to be the color of the words, not the overall major color of the piece. Let this dry overnight.

Next, choose your quote. It can be anything meaningful for you.
Once you know how many words you are dealing with, measure your space and figure out the spacing. I was using letters that were just a little over 1" tall, so I spaced my lines 2" apart. Mark these lines with a pencil to make sure you have straight lines.

I bought these letters at an office supply store and they are reusable. The white letters above were used in a previous project. Some of them don't stick as well as they did the first time around, so be aware of that.

Once you are satisfied with the placement of the letters, paint your top color over the entire piece. Be sure to push down on the letters that are not sticking so well so you don't get paint underneath them.

Again, dry overnight.

Carefully peal off the vinyl letters.

Touch up any paint that needs it.
(The first time I used these letters, I didn't have any paint leakage.
 Not sure I will reuse letters in the future.)

You can leave it like this or add some character.

Add some of the under-color paint to any details or edges.

 Put a glaze over it.

Or distress the edges.