Showing posts with label chair slipcovers. Show all posts

Thursday, May 21, 2015

Ticking-Stripe Slip Covers

I love new slipcovers!
And these were long overdue.
The old slipcovers on these chairs were getting a bit ratty,
but I just couldn't find any fabric I wanted to replace them.

Until I decided to change the color scheme of the room.
Then everything fell into place and I suddenly knew
 what fabric these chairs needed to be.
 
 I have done several tutorials on how to make slipcovers, so I won't do that now.
If you are interested, you can check out this sofa slipcover, or either wing back chair
slipcover, here or here.
I will just add a few details and tips relevant to these chairs.

 I wanted pleats (which are very easy and not too time consuming),
so I used wide navy seam binding as a detail to cover the seam.

 I used the same binding to make matching piping.

I used fabric that I bought a few years ago, and as I was cutting out the pieces,
I realized I was going to be short a couple of yards. I looked everywhere, but
nothing matched the coloring of this particular ticking fabric. So I used
some linen I already had for the backing.

I brought the ticking over the back and added a strip down the middle
to add detail to the plain linen fabric.

I also used muslin for the underside of the cushion
and part of the cushion band that wouldn't show.
This stretched my ticking fabric so that it was just enough!


 New pillows complete the look!


No Minimalist Here


Wednesday, January 14, 2015

A Quick Furniture Reshuffle

We have lived in this house for almost 5 years now, and the living room furniture
has been in pretty much the same place, even when the furniture was different.

1st couple of years.

2nd couple of years.

I decided to move the wing chairs in front of the window
and the table across the room.
This simple difference really opened up the room
and made it feel larger.

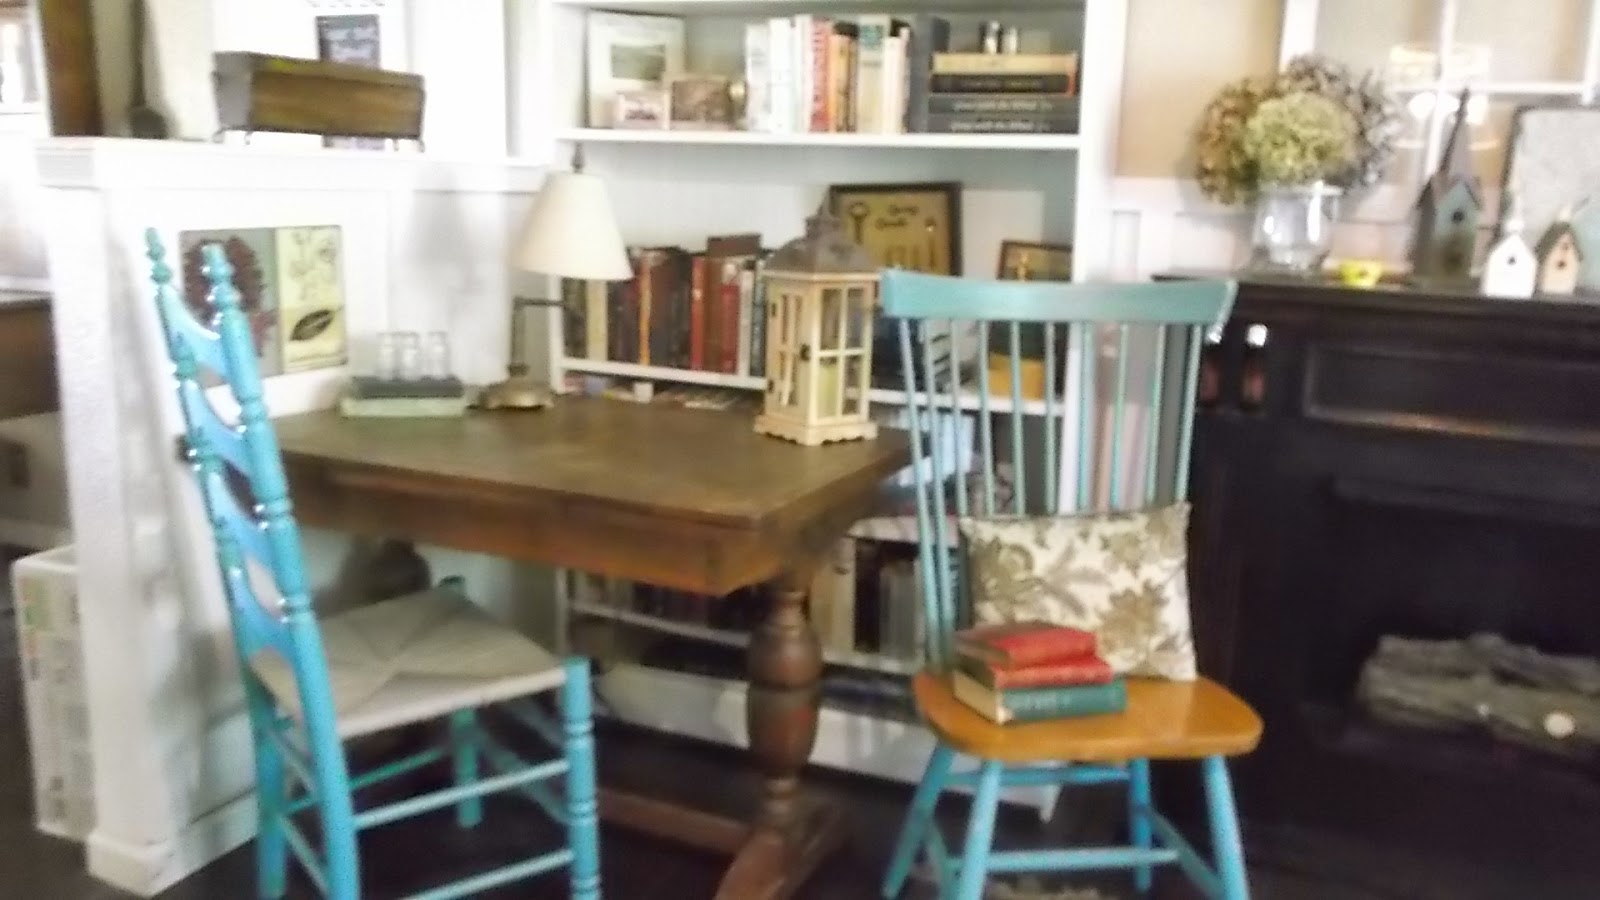
It also allowed me to bring in a couple more chairs
and set up a little desk area, something I was really needing.


I also really like have the two chairs close together like this.

It makes for a nice conversation spot.

They coordinate nicely, don't you think?

For detailed instructions on making these slipcovers,
see here

and here

I thought there wasn't any other way to arrange the furniture in this room,

but I am so happy I finally tried something different!


Wednesday, November 12, 2014

Another Wing Chair Slipcover Tutorial, Part 1

Turning this

Into this:

I had some leftover drop cloth and 2 yards of this blue canvas, but I wasn't sure 
in what ways I wanted to use them to make the slip cover.

After playing around with the fabrics, trying it in different areas of the chair,
I decided to use the blue on the wings as a start.

I began by laying the fabric on the inside wing and trimming the top edge.

 
Next, lay fabric against the outside wing and pin to inside wing.

Trim the excess fabric.

Outside wing.

Inside wing.

Repeat for the other wing and sew along the pin line.
Make sure you pin exactly where you want to sew, making for a snug fit.
When you turn the wings inside out, they will then fit on the opposite wings.

Next, I moved to the arms.

Again, lay the fabric against the arm, wrapping from the inside
below the top of the seat, to just below the rolled part of the arm.

Then add a piece of fabric to the front of the arm and pin.

Pin close together so you get the shape and it will fit well.

Trim excess fabric.

Move on to the other arm.

And remember, when you sew these and turn them, 
they will fit on the opposite sides.

I like to add piping when I sew the rolled arm fronts.

 I decided to make my own piping with some scraps 
of fabric and piping I already had,

 by just wrapping the fabric around the piping.

Place the piping in between the raw edges of the arm front, 
all raw edges together, and sew along the round edge of the piping.

If you feel more comfortable sewing the piping together before you add 
it go ahead and do that. You also might be more comfortable
pinning it inside the raw edges when you pin it on the chair.

When you turn in right-side out, the piping should be just right.

Tip: Make sure to use a heavy duty needle on your machine!
I went through 3 regular needles in one day before I
went to the store and bought some heavy-duty ones!

 
Next post, we will add the drop cloth and finish the slipcover.

Tuesday, April 8, 2014

Dining Chairs Slipcovered with Pleats and Fleur-de-lis


Aren't these chairs cute?

 This is what they looked like when I first got them!

 I knew I was going to paint them white,

 but I didn't know what I was going to do with the seat covers.
I finally settled on dropcloth, then decided to do pleats,

 
 The pleats continue around the back.

I felt they needed something else, so I painted a grey fleur-de-lis on the seat.


They look adorable with this claw foot table!